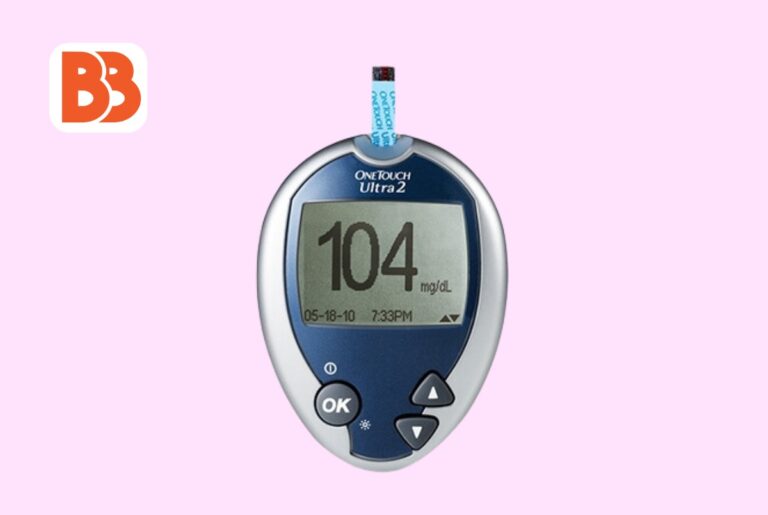
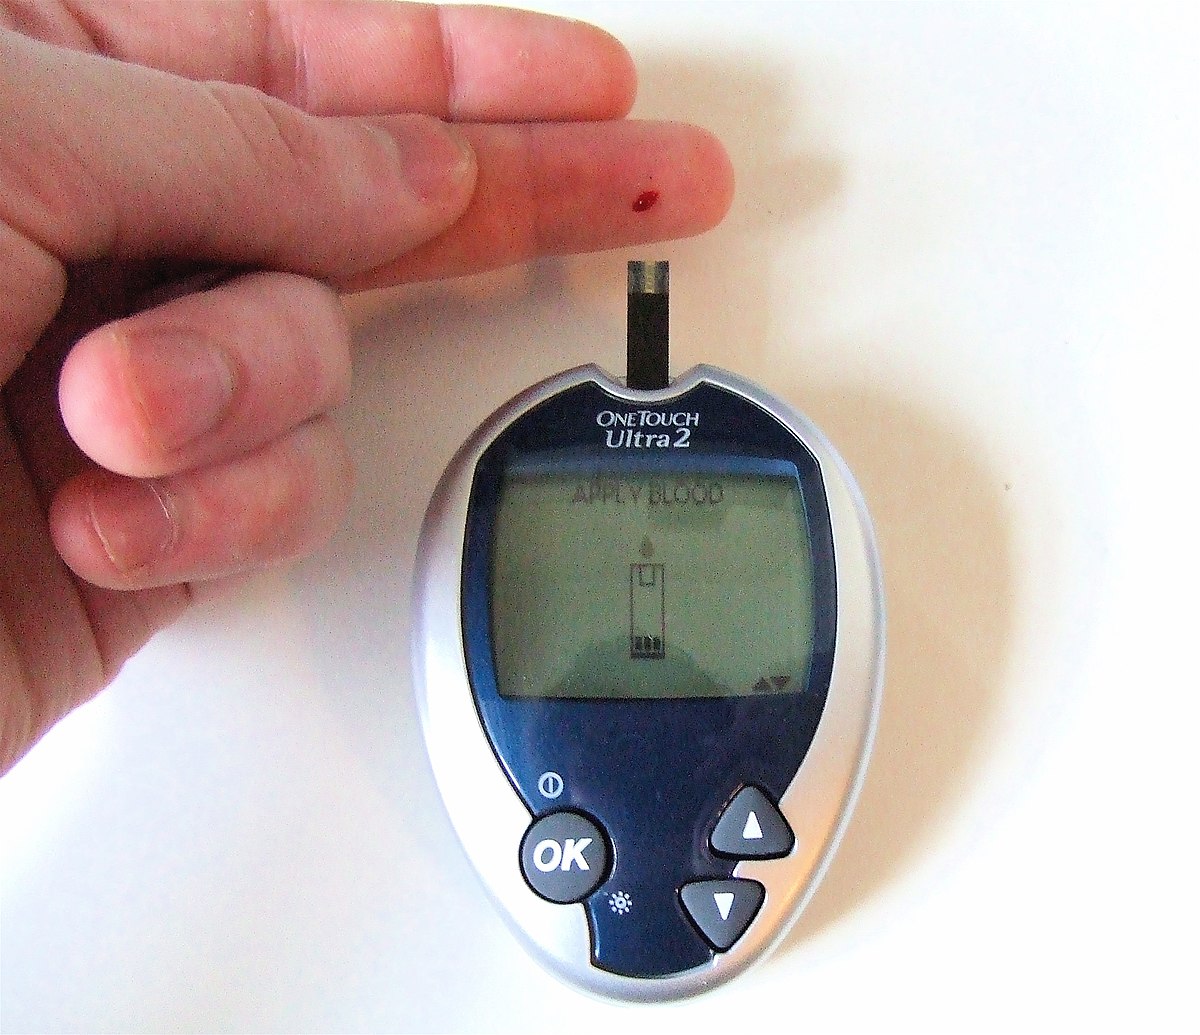
The One Touch Ultra 2 device can help you monitor your blood glucose levels at home. It is easy to use and can store up to 500 test results in memory. You can also attach flags or comments to your results, review your past results and averages, and download your data to a computer. In this article, I will show you how to set up and use the One Touch Ultra 2 blood glucose meter and answer some frequently asked questions.
Setting Up the One Touch Ultra 2 Meter
Before you use the meter for the first time, you need to set up the language, date, and time on the meter. To do this, follow these steps:


Step 1.
Hold down the OK button until the start-up test screen appears. Then, release the button.
Step 2.
Press and release the arrow buttons to select the language you want. Then press and release the OK button to confirm.
Step 3.
Press and release the arrow buttons to set the date format, the month, the day, and the year. Then press and release the OK button to confirm each setting.
Step 4.
Press and release the arrow buttons to set the time format, the hour, and the minute. Then press and release the OK button to confirm each setting.
Step 5.
The meter will display the code screen. You can now insert a test strip to turn on the meter.
Coding Your One Touch Ultra 2 Meter
Whenever you open a new vial of test strips, you need to code your meter. This ensures that the meter matches the test strips and gives accurate results. To code your meter, follow these steps:
Step 1.
Check the code number on the test strip vial. Make sure it matches the code on the meter display. If it does not, press and release the arrow buttons to change the code number on the meter. Then press and release the OK button to confirm.
Step 2.
The meter will display the applied blood screen. You can now prepare for a test.
Preparing for a Test
To perform a test, you need the following items:
- One Touch Ultra 2-meter
- One Touch Ultra test strip
- One Touch Delica plus lancing device
- One Touch Delica plus Lancet
- A clean, dry cotton ball or tissue
For the preparation of a test, follow these steps:


Step 1.
Wash and dry your hands with soap and mildly hot water. That will help stop infection and confirm a good blood sample.
Step 2.
Insert a test strip into the meter. Make certain that the three touch bars are facing you. Press the test strip in as far as it will go. Do not bend the test strip.
Step 3.
Insert a lancet into the lancing device. Twist off the protective cap and save it for later use. Adjust the depth setting on the lancing device according to your skin type and preference. The higher the number, the deeper the puncture.
Step 4.
Pull back the white slider on the lancing device until it clicks. The lancing device is now ready to use.
Getting a Blood Sample and Applying It to the Test Strip
To get a blood sample and apply it to the test strip, follow these steps:
Step 1.
Choose a fingertip or an alternate site (such as the palm, forearm, or upper arm) to get a blood sample. If you choose an alternate site, make sure you have consulted your healthcare professional and read the instructions in the owner’s booklet.
Step 2.
Gently squeeze and massage your fingertip or alternate site until a round drop of blood forms. Do not use that sample if the blood smears or runs. Dry the particular area and gently press another drop of blood or punch a new area.
Step 3.
Hold the lancing device firmly against your fingertip or alternate site. Press the green button to release the lancet. You should feel a slight sting.
Step 4.
Wipe away the first drop of blood with a clean, dry cotton ball or tissue. It will help prevent contamination and ensure an accurate result.
Step 5.
Gently squeeze and massage your fingertip or alternate site again until a new round drop of blood forms. Do not squeeze the puncture site too hard, which may affect the result.
Step 6.
Touch and hold the drop of blood to the narrow channel on the edge of the test strip. Do not apply blood to the top of the test strip. The One Touch Ultra 2 Blood Glucose meter will beep and start counting down from 5 to 1. The test is complete when the result appears on the display.
Reading and Storing the Result on One Touch Ultra 2 Meter
To read and store the result, follow these steps:
Step 1.
Read the result on the meter display. The result will be shown in milligrams per deciliter (mg/dL) or millimoles per liter (mmol/L), depending on your One Touch Ultra 2 Blood Glucose meter’s unit of measure set. The result will also be stored in the meter memory, along with the date and time of the test.
Step 2.
Remove the test strip from the meter and dispose of it safely. The meter will turn off automatically.
Step 3.
Remove the lancet from the lancing device and dispose of it safely. Use the protective cap to avoid accidental injury. Do not reuse the lancet or the test strip, as this may cause infection or inaccurate results.
Frequently Asked Questions
Here are some common questions and answers about the One Touch Ultra 2 blood glucose meter:
Q: How do I attach flags or comments to my results?
A: To attach a flag or a comment to your result, press and release the arrow buttons to select the flag or comment you want. Then press and release the OK button to confirm. The flag or comment will appear next to your result on the display and in the memory.
Q: How do I review my past results and averages?
A: You can review your past results and averages by pressing and releasing the arrow buttons when the meter is off. The meter will display the last result, then the 14-day average, then the 30-day average, then the 7-day average, then the 90-day average.
Q: How do I download my results to a computer?
A: You can download your results to a computer using the One Touch Reveal web app or the One Touch Diabetes Management Software. You will need a USB cable and a compatible computer to do this
Q: When and how do I test with a control solution?
A: Make sure you use the control solution that matches your test strips. Compare the result on the meter with the range printed on the test strip vial. The meter and test strips will work properly if the result is within the range.
Q: How to use a touch ultra two glucose meter?
A: To use the One Touch Ultra 2 blood glucose meter, insert a test strip, code your meter, get a blood sample, apply it to the test strip, and read the result on the display.
Conclusion
The One Touch Ultra 2 blood glucose meter is a simple and convenient way to monitor your blood glucose levels at home. It can help you manage your diabetes and stay healthy. Following the instructions in this article, you can set up and use the meter correctly and get accurate results. You can also use the features and functions of the meter to track your blood glucose trends and share your data with your healthcare professional.
Read more:
Apple MacBook Air 15-Inch Review M2 Ultra chip: The Best Portable Display

