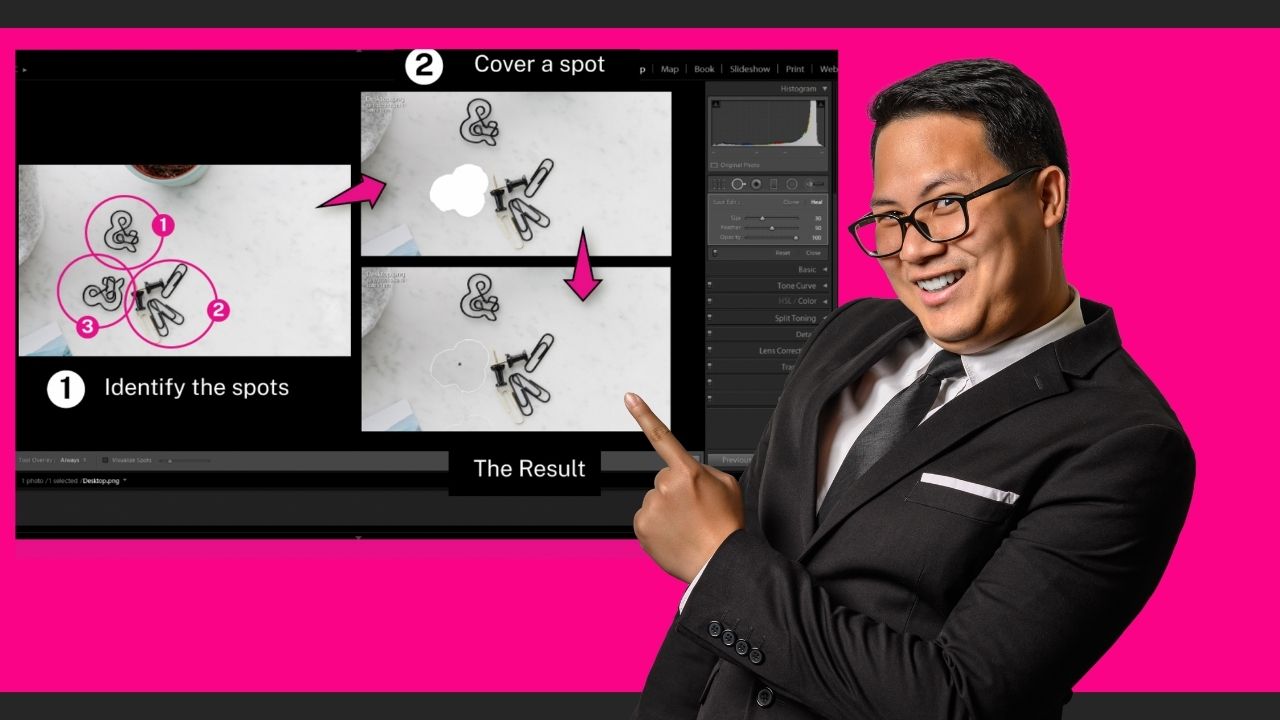
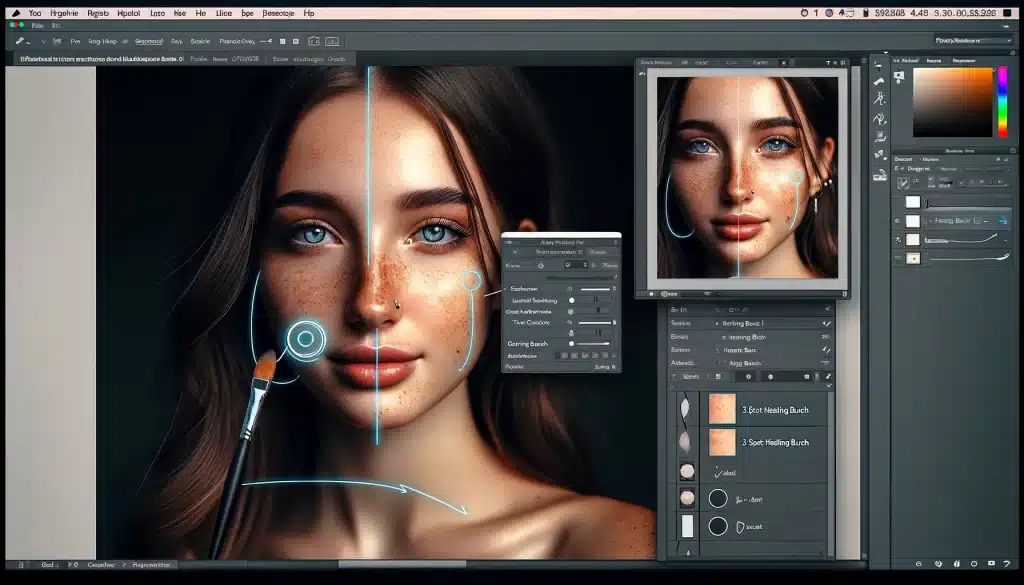
Do you want to remove unwanted objects from your iPhone photos? Learn how to use the healing brush tool in the Lightroom mobile app to remove objects in lightroom iphone, distractions and improve your images.
How do you remove objects from the Lightroom iPhone?
Sometimes, you may want to know how to remove objects in lightroom iphone from your photos that are distracting, unnecessary, or unwanted. For example, you may want to eliminate a trash can, a power line, a photobomber, or a blemish. Fortunately, you can do this easily on your iPhone using the Lightroom mobile app.


In this article, we will show you how to remove objects in lightroom iphone, andThe healing how to use the healing brush tool in the Lightroom mobile app to remove objects in lightroom iphone or your photos.
What is the healing brush tool in the Lightroom mobile app?
The healing brush tool in the Lightroom mobile app allows you to remove objects from your photos by replacing them with pixels from another area of the image. The tool automatically samples and blends the pixels to match the surrounding area’s color, tone, and texture.
Moreover, you can use the healing brush tool to remove small or large objects and adjust the healing brush’s size, feather, and source.
Read more about,
Fix iPad charging slow: A Guide to Faster Battery Power
How do you use the healing brush tool in the Lightroom mobile app?
To use the healing brush tool in the Lightroom mobile app, follow these steps:


Step 1.
First open the Lightroom mobile app on your iPhone and select the photo you want to edit.
Step 2.
Now tap the Edit icon at the bottom of the screen and then tap the Healing icon in the Edit panel.
Step 3.
Tap the plus icon at the bottom right of the screen to add a new healing spot.
Step 4.
Drag your finger over the object you want to remove. You can adjust the size and feather of the healing brush by pinching and zooming on the screen.
Step 5.
The app will automatically select a source area to replace the object. You can drag the source area to a different location if you want to change it.
Step 6.
Tap the checkmark icon at the bottom right of the screen to apply the healing.
Step 7.
You can add more healing spots if you want to remove more objects. You can also tap on a healing spot to edit or delete it.
Step 8.
Tap the Done icon at the top right of the screen to save your changes.
Click here if you want to know about, How to crop a screenshot on Mac?
How can we improve the results of the healing brush tool in the Lightroom mobile app?
Sometimes, the healing brush tool may not give you the perfect results. You may notice some artifacts, inconsistencies, or unnatural edges in the healed area.


To improve the results of the healing brush tool, you can try the following tips:
- Use a smaller healing brush size for more precise and accurate healing.
- You can use a higher feather value for a smoother and softer transition between the healed and original areas.
- Choose a source area similar to the object’s color, tone, and texture.
- Avoid using the healing brush tool on areas with complex patterns, details, or edges, such as faces, hair, or text.
- Use the clone option instead of the heal option to copy the pixels exactly from the source area without blending them.
Frequently Asked Questions about how to remove objects in Lightroom iphone
Here are some frequently asked questions about removing objects in Lightroom iPhone:
Q 1: Can I undo or redo the healing brush tool in the Lightroom iphone app?
A: You can undo or redo the healing brush tool by tapping the arrow icons at the bottom of the screen. You can also use the before and after view to compare the original and edited photos by tapping and holding on to the photo.
Q 2: Can I use the healing brush tool on multiple photos in the Lightroom iphone app?
A: No, in the Lightroom mobile app, you can only use the healing brush tool on one photo at a time. However, you can copy and paste the healing settings from one photo to another by tapping the three-dot icon at the top right of the screen and selecting Copy Settings and Paste Settings.
Q 3: Can I use the healing brush tool on RAW photos in the Lightroom mobile app?
A: The healing brush tool can be used on RAW photos in the Lightroom mobile app. However, to get the best results, you may need to adjust the exposure, contrast, and other settings of the RAW photo before using the healing brush tool.
Q 4: How can I learn more about the healing brush tool and other editing tools in the Lightroom mobile app?
A: You can learn more about the healing brush tool and other editing tools that are used to remove objects in the Lightroom iphone by watching video tutorials on YouTube as well as reading articles on the web.
Q 5: What are some alternatives to the healing brush tool in the Lightroom mobile app?
A: Some alternatives to the healing brush tool in the Lightroom mobile app are the patch tool and the content-aware fill tool in the Photoshop or Photoshop Express apps. These tools also allow you to remove objects in lightroom iphone from your photos by replacing them with pixels from another image area. However, they may have different features and functions than the healing brush tool in the Lightroom mobile app.
Conclusion
In conclusion, with the Lightroom mobile app, removing objects from your photos on your iPhone can be easy and fun. You can use the healing brush to erase distractions and improve your images. For the best results, adjust the healing brush’s size, feather, and source. Following the steps and tips in this article, you can master the healing brush tool and create stunning photos on your iPhone.
Look here to study about, How to Use Greenshot Instead of Snipping Tool: A Complete Guide
